efsta-portal
Set up the efsta Portal.
Creating Organizations, Companies & Locations
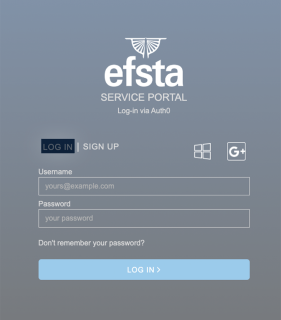
First you will receive an invitation to our efsta Portal. If you still require an invite, please get in touch with our team at ticket@efsta.eu.
For each of the following sections, you have the option between an active or inactive setup (for testing). Please make sure to follow the steps appropriate to your demands.
For testing/sandbox purposes, please create a test-organization with test-companies and test-EFRs. If you test with an active/live EFR, an invoice will automatically be issued (unless deactivated within the same day).
- Testing Setup
- Active Setup
Testing Organizations
organizations are used for structuring in the efsta portal. We recommend creating a separate organization for each country (e.g. Customer AT, Customer FR)
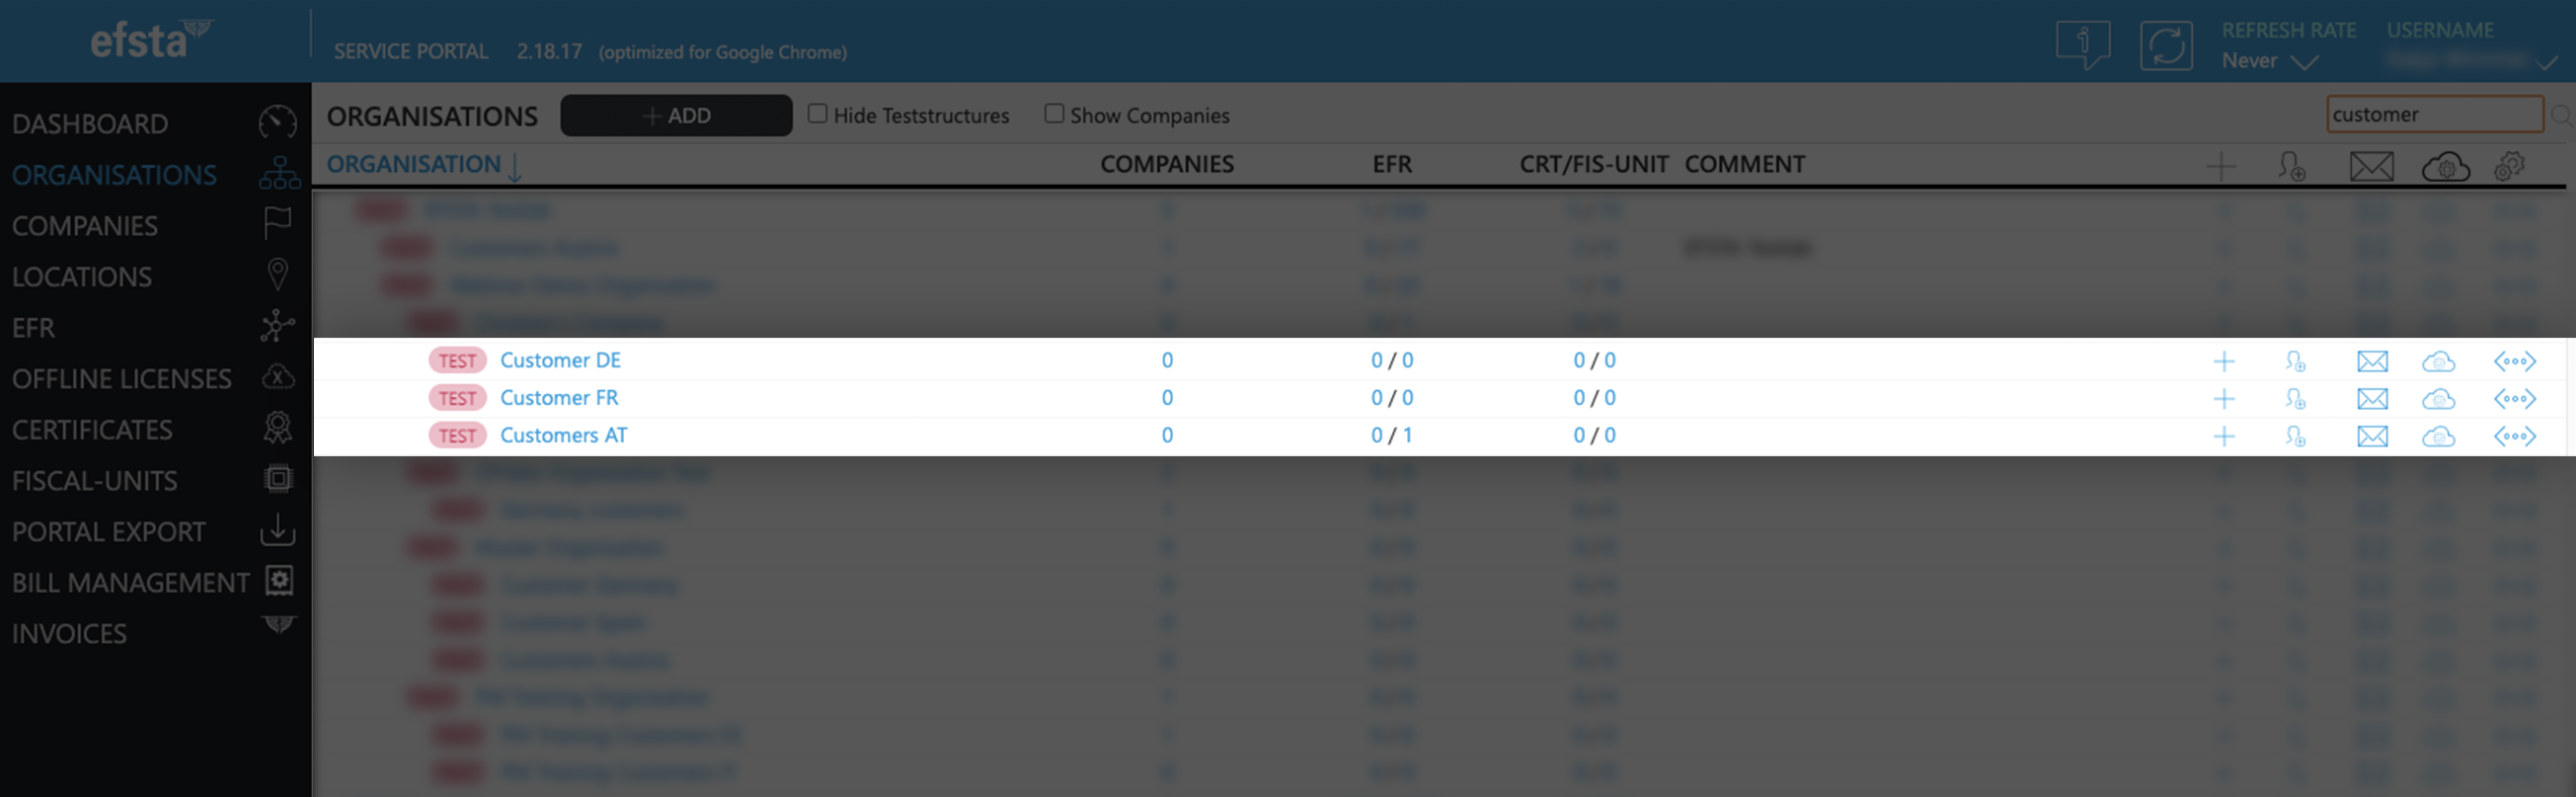
- On the main page of the efsta portal, click on “organizations” in the left side menu

- Click on „Add“

- In the pop up window, select your organization from the drop-down menu
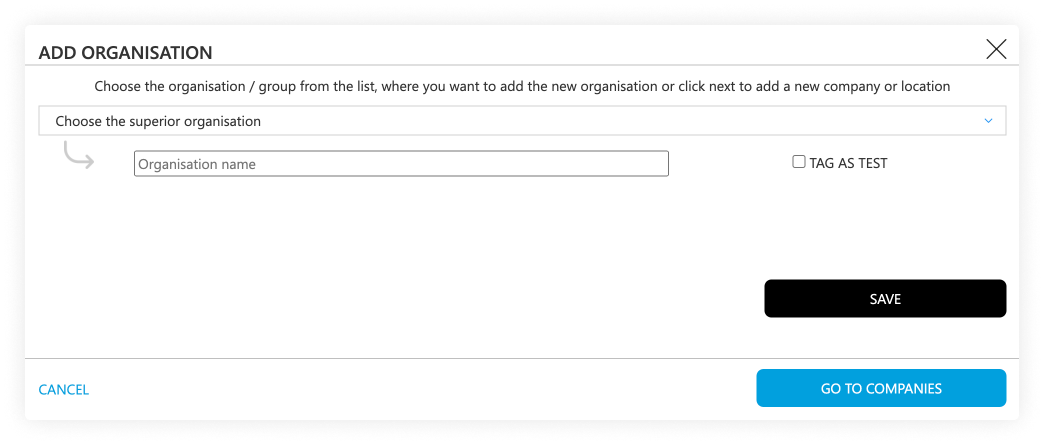
- Enter the name of the test-organization you want to create
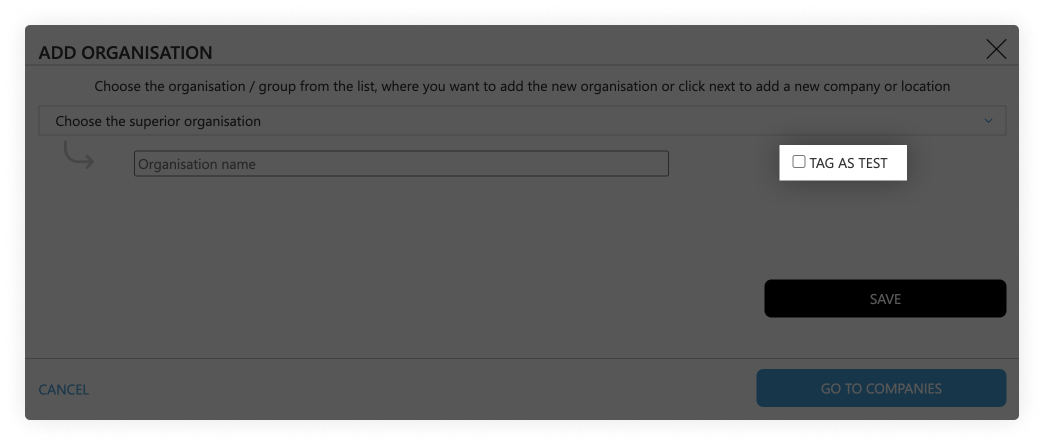
(f.e. “efsta IT Services Gmbh Test Organization”) - Tick the "tag as test" checkbox
- Click on the save button
Testing Companies
- Go to the page „Companies“

- Click on the „Add“ button

- In the pop-up window, select the test-organization that was just created
- Select the correct country
- Click on the save button
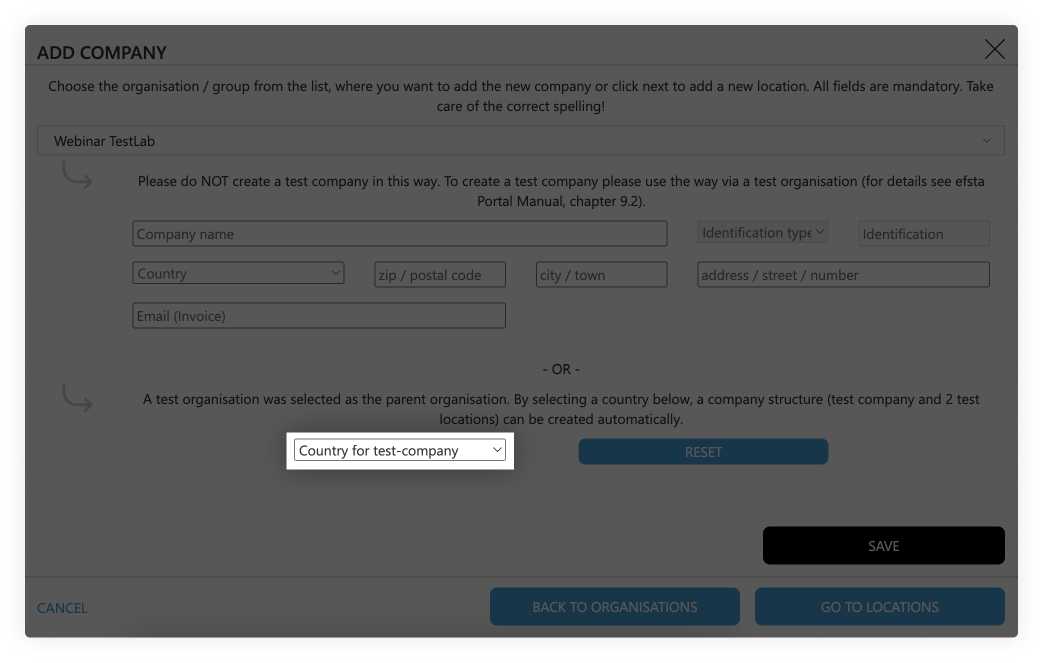
Testing Locations
Test-companies are automatically created with two location sites for testing purposes.
Active Organizations
Organizations are used for structuring in the efsta portal. We recommend creating a separate organization for each country (e.g. Customer AT, Customer FR)
- On the main page of the efsta portal, click on “organizations” in the left side menu
- Click on „Add“
- In the pop up window, select your organization from the drop-down menu
- Enter the name of the organization you want to create
(f.e. “efsta IT Services Gmbh Organization”) - Click on the save button
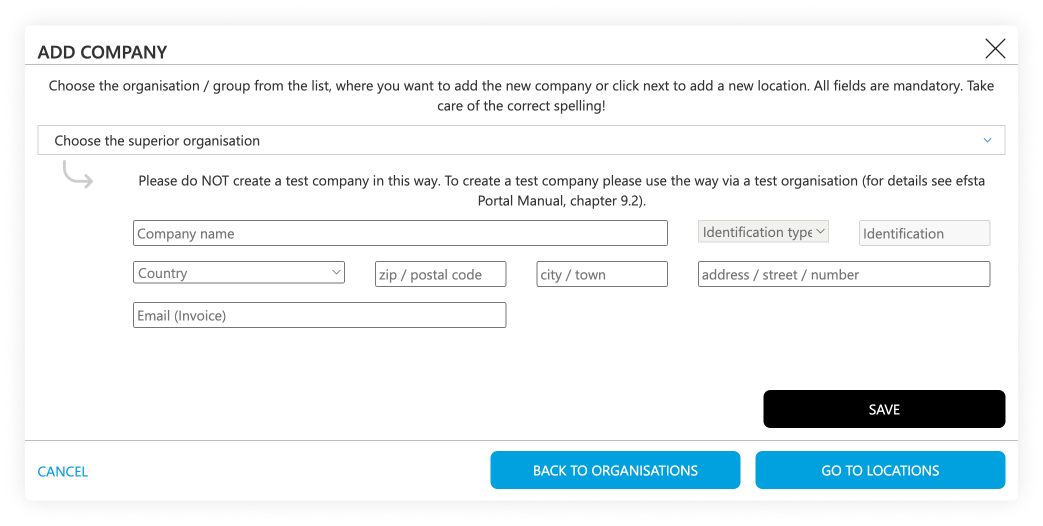
Active Companies
- Go to the page „Companies“
- Click on the „ADD“ button
- In the pop-up window, select the organization that was just created
- Select the correct country
- Enter the company data. At identification type, choose „EUROPE VAT-id“, country specific tax number, or GLN number if applicable
- Click on the save button
 DE | Germany
For German companies you can add the WIdNr (Wirtschafts-Identifikationsnummer) – this is currently optional but will be mandatory from 01.01.2027 onwards as requirement for the german reporting obligation.
Active Locations
- Go to „Locations“ in the left side menu

- Click on „Add“
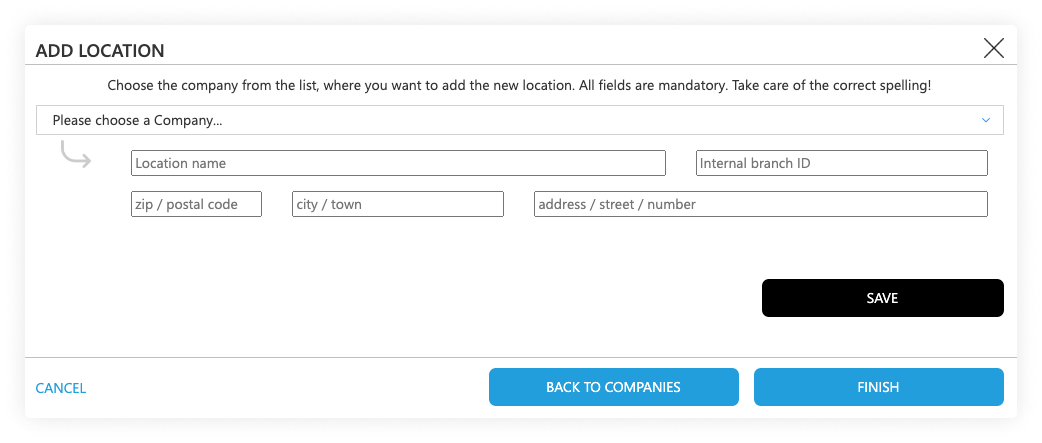
- In the pop-up window, select the company you just created
- Enter the location information
- The internal branch ID should match with the TL which you send in the transactions
Inviting Users & Permissions
After you have finished your organization structure, you can invite users to manage the correlating organization, depending on where they should have access.
User Invitations & Permission Setting
- Go back to “Organizations” page and the find your top organization
- On the right side (next to the organization, company, or location) click on the "add user" symbol:
![]()
- In the pop-up window, enter the mail address of the person you want to invite to the Portal and select the permissions you want to assign to them:
- Editor: can edit data, create companies and deactivate EFR
- Viewer: Read-only access with optional data sharing permissions
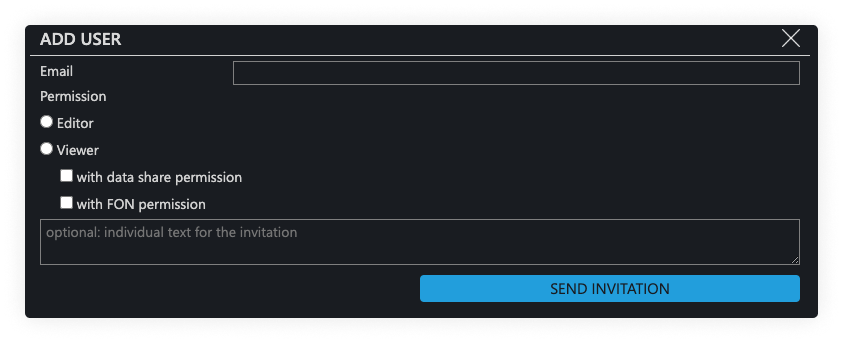
- Click on the button „send invitation“ so the invited person will receive an email with a registration token
The invitation is valid for 10 days.
-
- The user to whom the invitation was sent has to sign up with their mail address and a custom password
- Alternatively, they can also sign up with a Google or Microsoft account
- After the registration was completed, they can log in